Metatron's Cube II
This is a compilation of images for a painting called Metatron's Cube
II. The drawing(s) for it were begun on July 2, 2023. This text is
being written on October 24, 2024 -- 1 year and 4 months after the
initial designing. Unlike Metatron's Cube I, this is a considerably
larger design (32" x 32"). It is a painting rather than a 12"x 12"
drawing in colored pencils. For details on the design and
"construction" of Metatron's Cube I, please visit Metatron's Cube I.
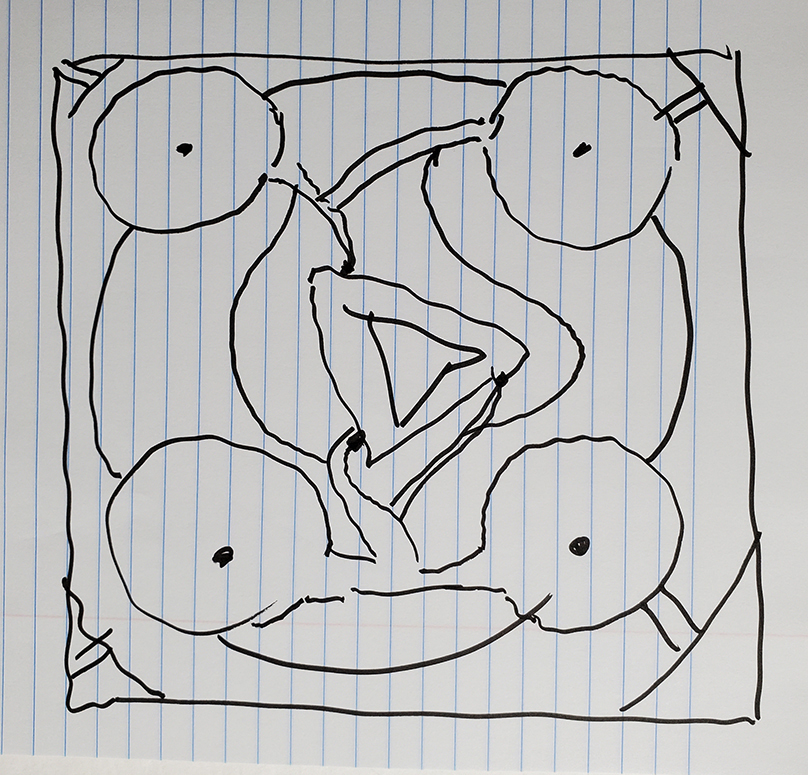 Initial rough marker design (very small) - no plan in mind. Was later
mostly abandoned
Initial rough marker design (very small) - no plan in mind. Was later
mostly abandoned
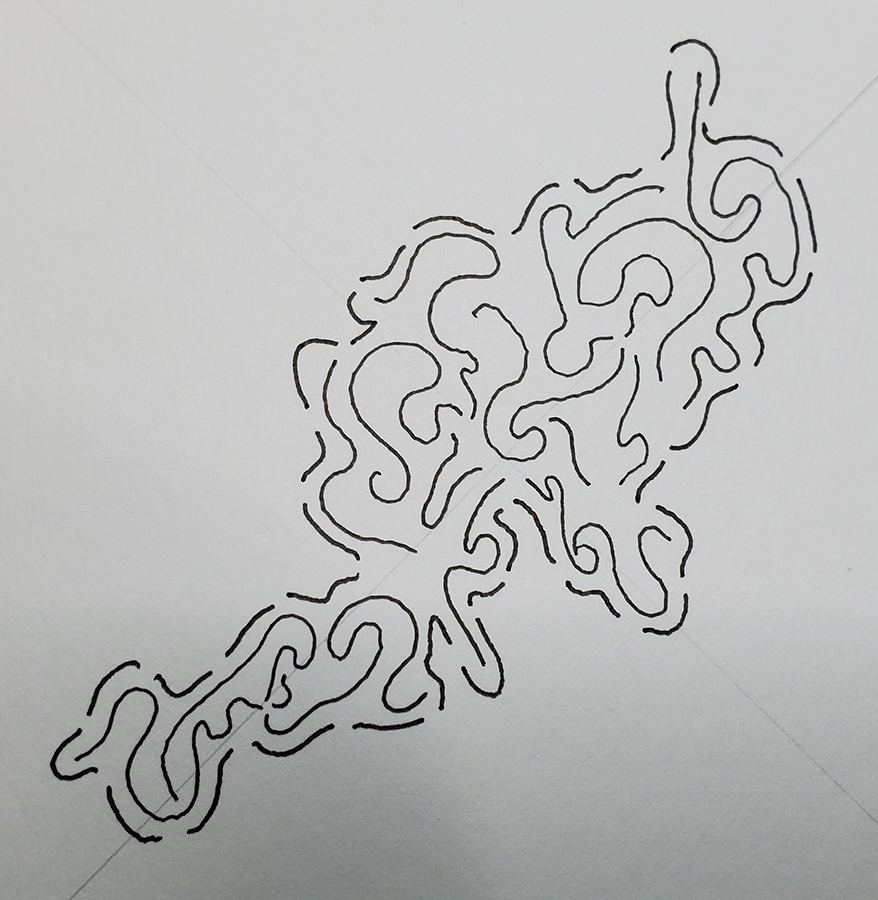 Initial, small technical pen design begun on a diagonal "tilt" and
centrally located on a 32" x 32" illustration board. Random. Still
no plan for central circular incorporation.
Initial, small technical pen design begun on a diagonal "tilt" and
centrally located on a 32" x 32" illustration board. Random. Still
no plan for central circular incorporation.
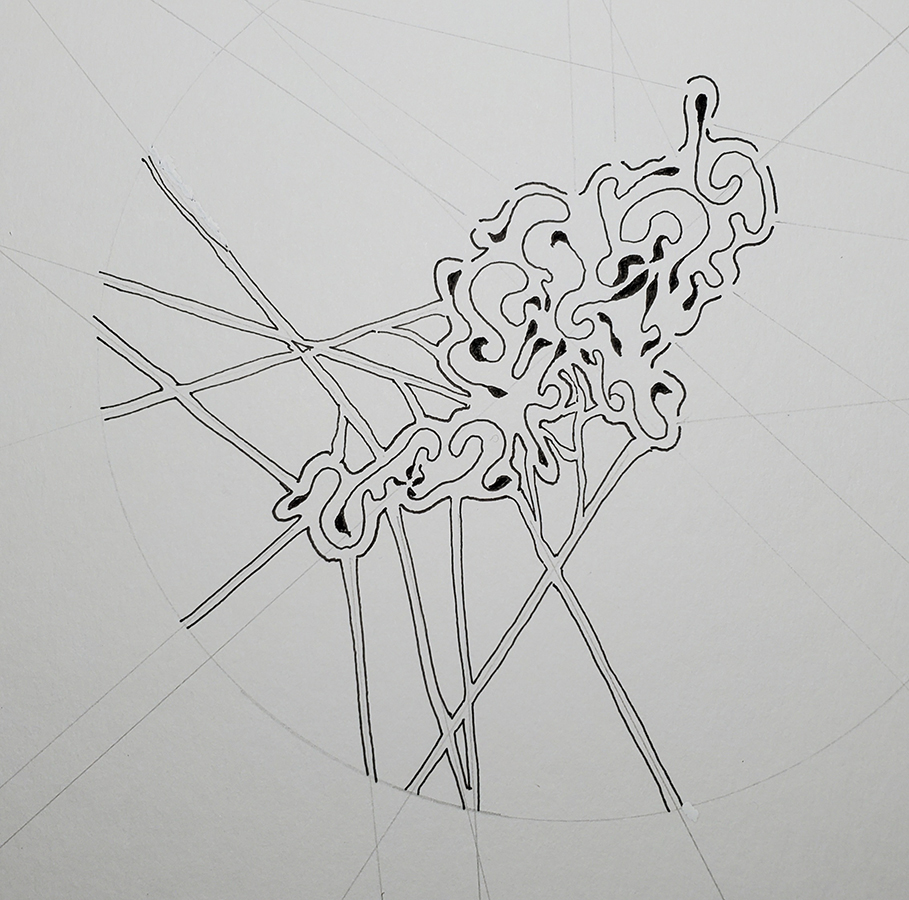 Development of "expansion ideas" with enhancements WITHIN the light
penciled sub-design -- and within the center-most circle of the
famous Metatron's Cube design. The perimeter of the central circle
boundary is somewhat visible.
Development of "expansion ideas" with enhancements WITHIN the light
penciled sub-design -- and within the center-most circle of the
famous Metatron's Cube design. The perimeter of the central circle
boundary is somewhat visible.
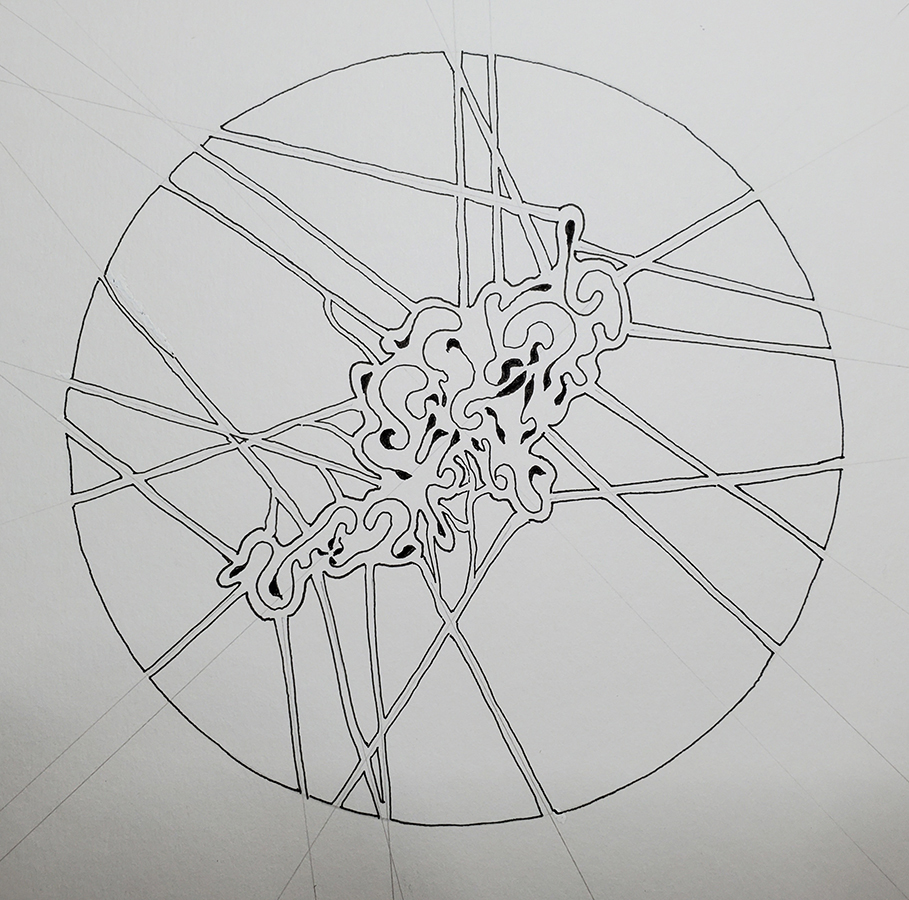 Central circle perimter line drawn to "connect" the central randon
design to the main "orderly" design. "Pathways" subsequently created.
Central circle perimter line drawn to "connect" the central randon
design to the main "orderly" design. "Pathways" subsequently created.
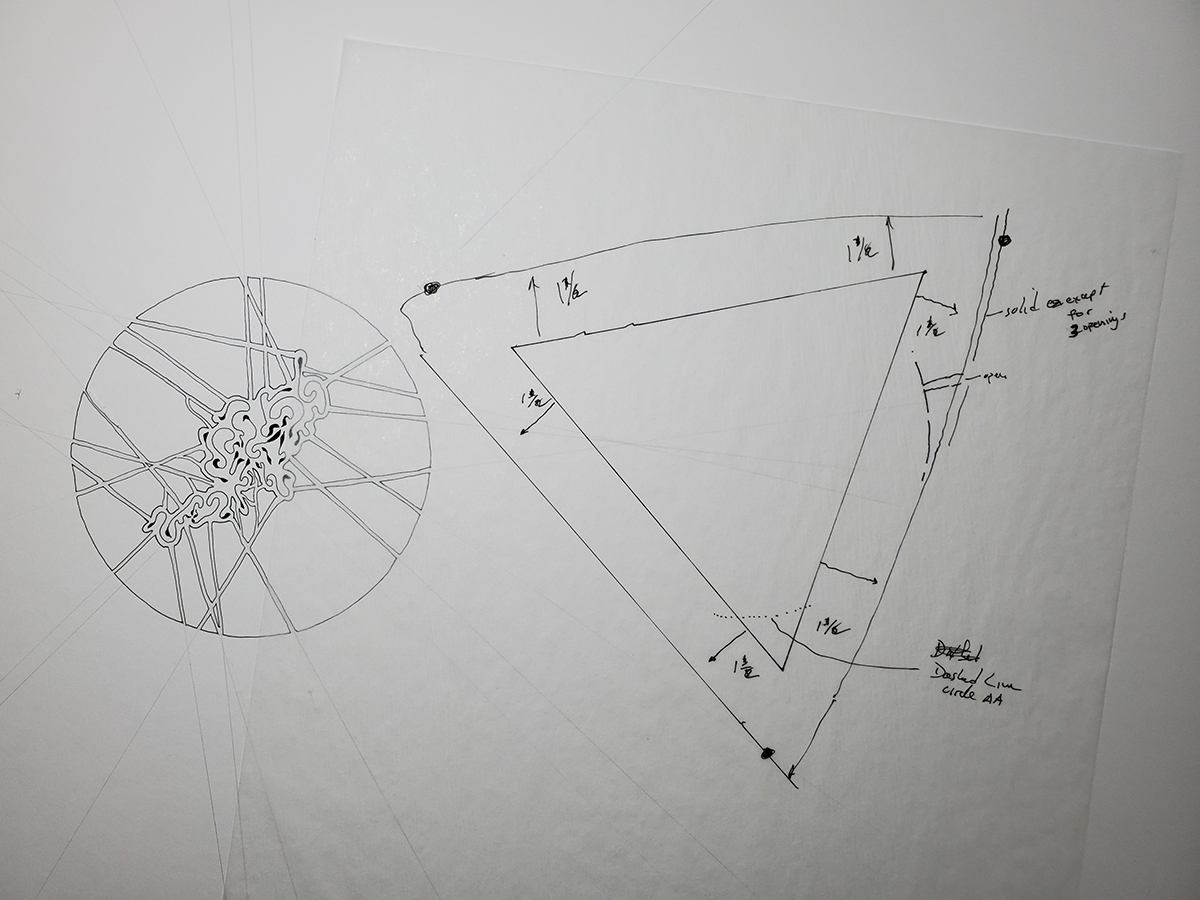 A seperate TRACING PAPER overlay sheet was then created to try to get
a sence of how to "contain" the now circular design INTO to proper
angle and orientation WITHOUT cropping any of its bountary lines AND
so it would actually BE the central circle itself for the Metatron's
Cube II design.
A seperate TRACING PAPER overlay sheet was then created to try to get
a sence of how to "contain" the now circular design INTO to proper
angle and orientation WITHOUT cropping any of its bountary lines AND
so it would actually BE the central circle itself for the Metatron's
Cube II design.
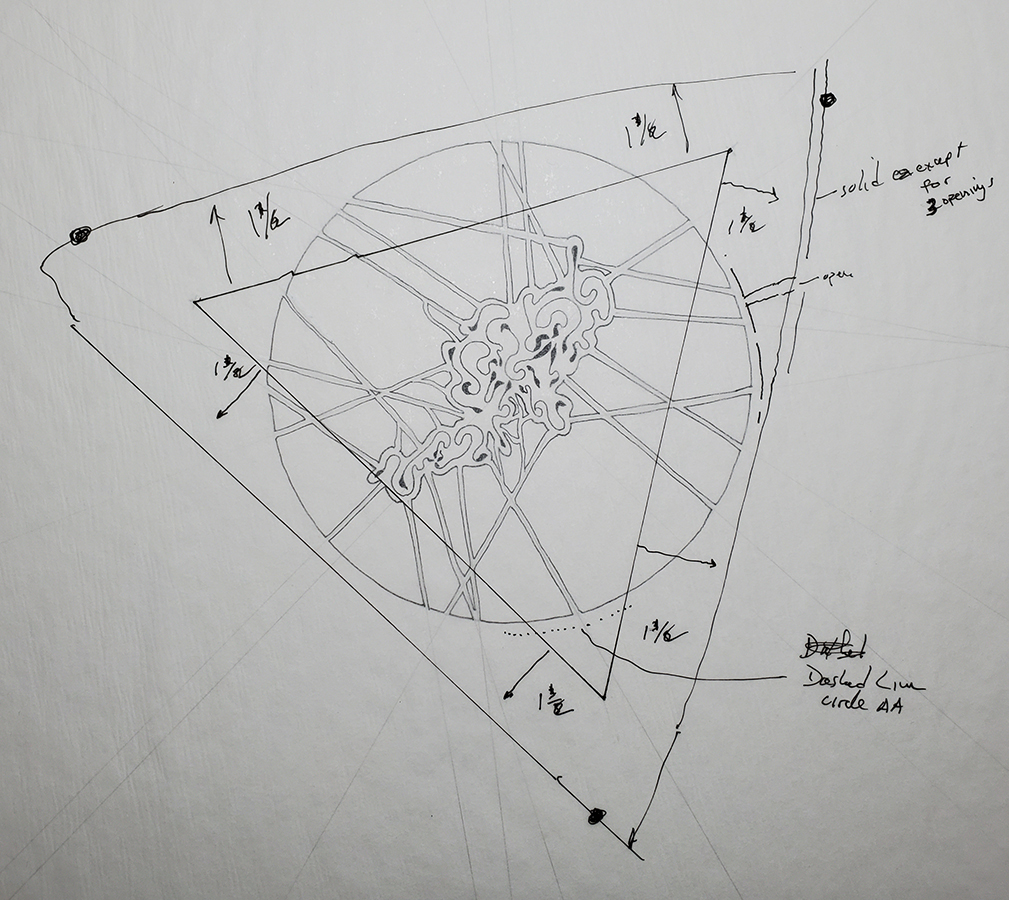 Super-imposition of ideas here... The triangular tracing is again
just an overlay for confirmation.
Super-imposition of ideas here... The triangular tracing is again
just an overlay for confirmation.
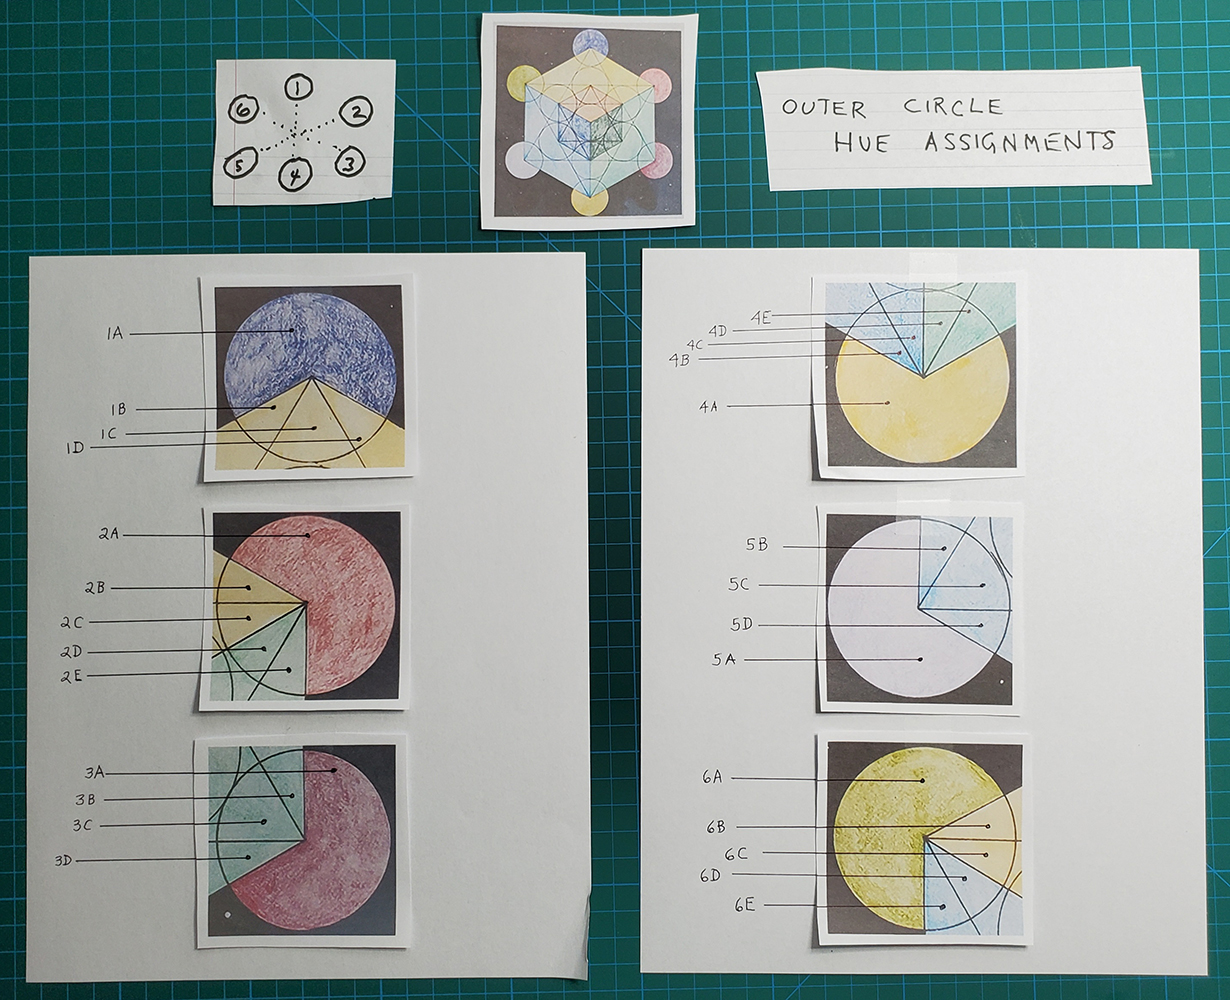 Here we see an earlier "investigation" (somewhat expanded upon) for
the 12" x 12" colored pencil version in the Metatron's Cube I drawing.
Since the Metatron's Cube II painting was going to be considerably
larger, I wanted to cet a clearer idea of the pie pieces and their
proper angles (and quantities) within each of the circles. There was
also a color scheme to develop and this color scheme DID have "cube
faces" incorporated in it. It was fairly complex to remember how
tinting should be done and where the basic hues (for the inner and
outer cubes) would be, so I developed a number and lettering guide, to
help with these color and tinting sequences.
Here we see an earlier "investigation" (somewhat expanded upon) for
the 12" x 12" colored pencil version in the Metatron's Cube I drawing.
Since the Metatron's Cube II painting was going to be considerably
larger, I wanted to cet a clearer idea of the pie pieces and their
proper angles (and quantities) within each of the circles. There was
also a color scheme to develop and this color scheme DID have "cube
faces" incorporated in it. It was fairly complex to remember how
tinting should be done and where the basic hues (for the inner and
outer cubes) would be, so I developed a number and lettering guide, to
help with these color and tinting sequences.
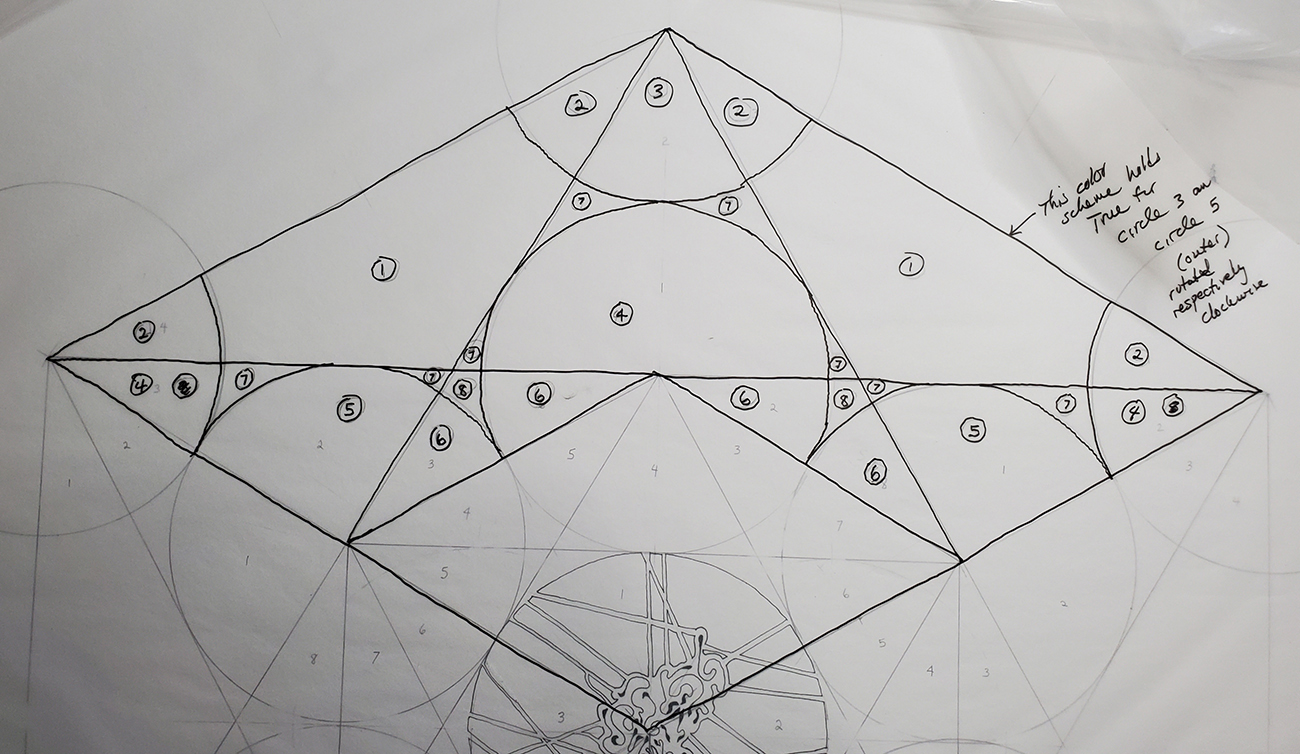 The previous text represents yet another abandoned idea for how to
"do" this paining, howver. I included it mearly to show SOME of the
detail for not only the desired CUBE "look" but also the proper tinting
and color transition boundaries. It was only after TRACING this
generalized design pattern and superimposing it onto the lightly
penciled (un-painted) design when I was then abler to know what # and
colorwas to be used. It then was mearly necessary to refer to a
developed list of colors and tints (light to dark). Cutting of
respective stencils and numbering them FOR those areas would help in
the proper location for adhearing them to the illustration board. After
adhearing, these stencil "eares" would be manually cut with an Exacto
blade -- and hand painted. 5 minutes of drying time would be all that
was needed before removal of the stencils.
The previous text represents yet another abandoned idea for how to
"do" this paining, howver. I included it mearly to show SOME of the
detail for not only the desired CUBE "look" but also the proper tinting
and color transition boundaries. It was only after TRACING this
generalized design pattern and superimposing it onto the lightly
penciled (un-painted) design when I was then abler to know what # and
colorwas to be used. It then was mearly necessary to refer to a
developed list of colors and tints (light to dark). Cutting of
respective stencils and numbering them FOR those areas would help in
the proper location for adhearing them to the illustration board. After
adhearing, these stencil "eares" would be manually cut with an Exacto
blade -- and hand painted. 5 minutes of drying time would be all that
was needed before removal of the stencils.
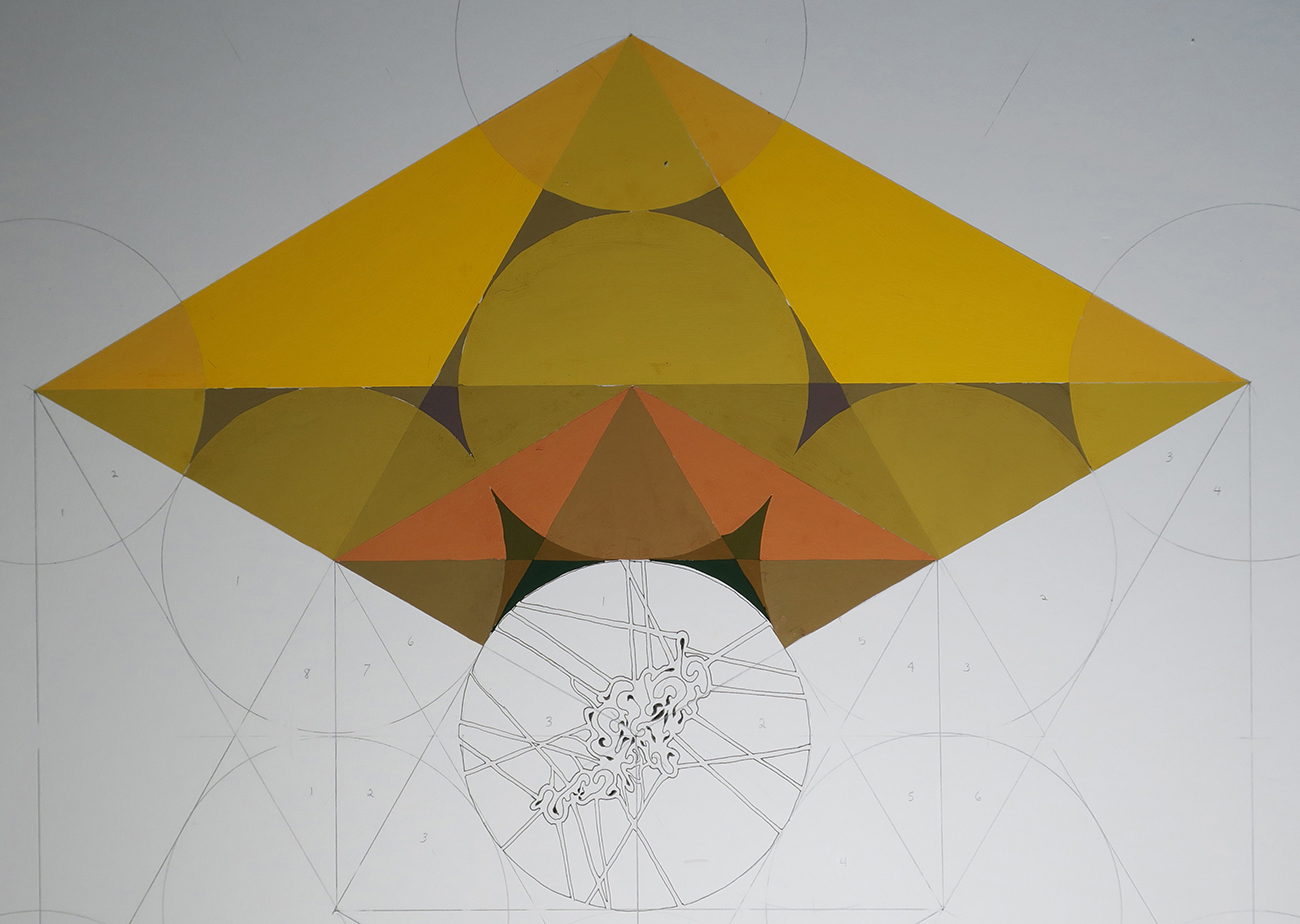 Here we see what is beginning to look like the TOP FACE of the
"greater" cube in the Metatron's Cube II design. It won't be until
later on when the smaller "inner" secondary cube face(s) appear.
Here we see what is beginning to look like the TOP FACE of the
"greater" cube in the Metatron's Cube II design. It won't be until
later on when the smaller "inner" secondary cube face(s) appear.
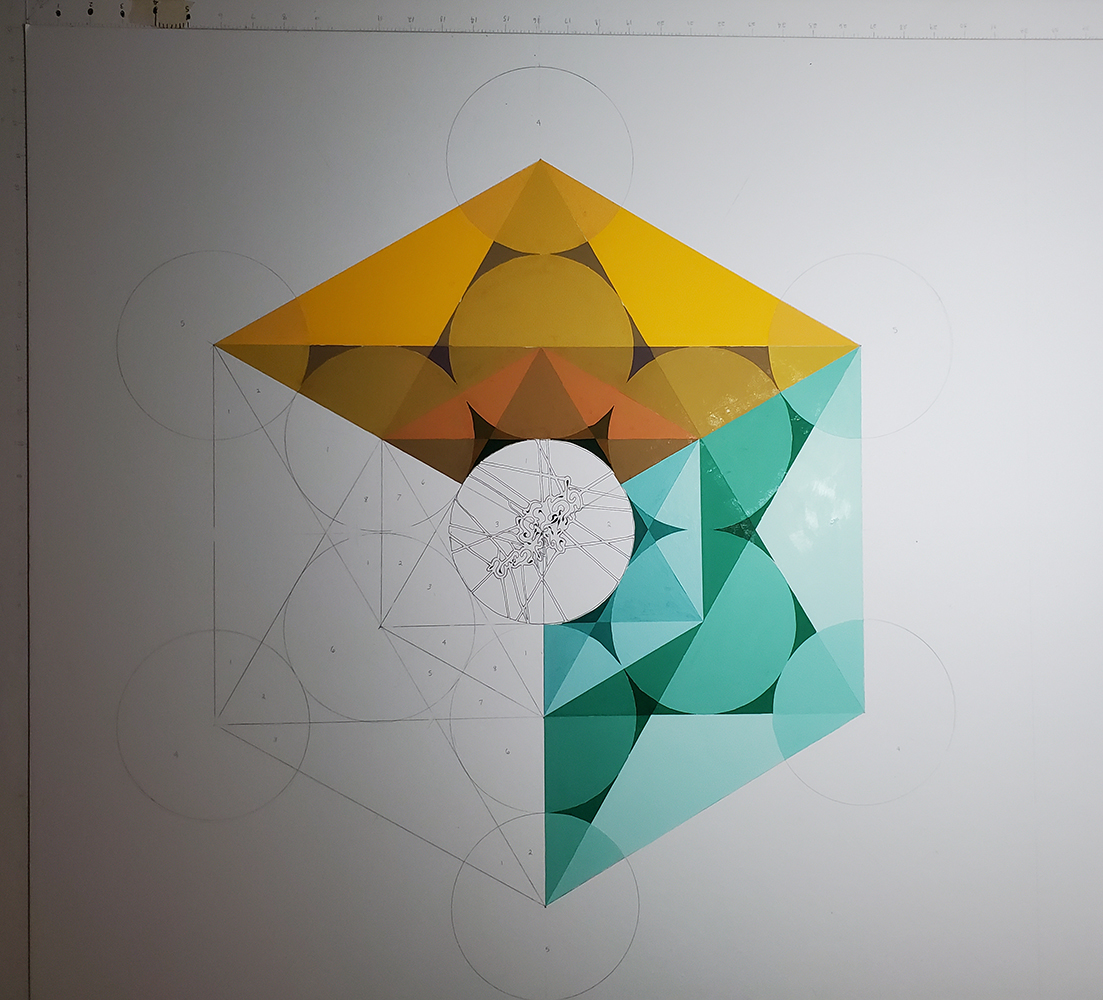 Here we see futher development of a 2nd "greater" cube face
in (teal-green)"
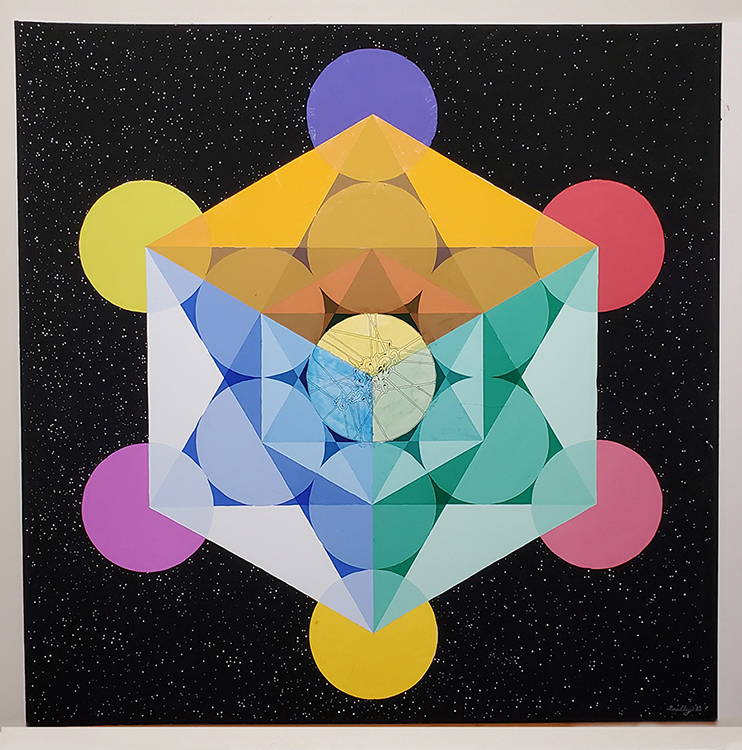
Finally, after more development of the individual cube faces, we can
see both the inner and outer cube in the 32" x 32" painting. I was not
entirely happy with the color scheme for the inner cube, as its top
face is quite "hidden." The geometry for the famous Metatron Cube
design is very interesting and pleasing to the eye. Since it falls
under the category of "sacred" geometry, I decided to add my own
Universe of stars all around it. It's worth noting this design could
be made to be infinitely larger outword in 3 DIMENTIONSAL directions!
This obviously is not very easy to "capture" on a 2-dimentional
surface!
Here we see futher development of a 2nd "greater" cube face
in (teal-green)"
Finally, after more development of the individual cube faces, we can
see both the inner and outer cube in the 32" x 32" painting. I was not
entirely happy with the color scheme for the inner cube, as its top
face is quite "hidden." The geometry for the famous Metatron Cube
design is very interesting and pleasing to the eye. Since it falls
under the category of "sacred" geometry, I decided to add my own
Universe of stars all around it. It's worth noting this design could
be made to be infinitely larger outword in 3 DIMENTIONSAL directions!
This obviously is not very easy to "capture" on a 2-dimentional
surface!
Back
|