|
-- with a Story about Sunflower Seeds -- 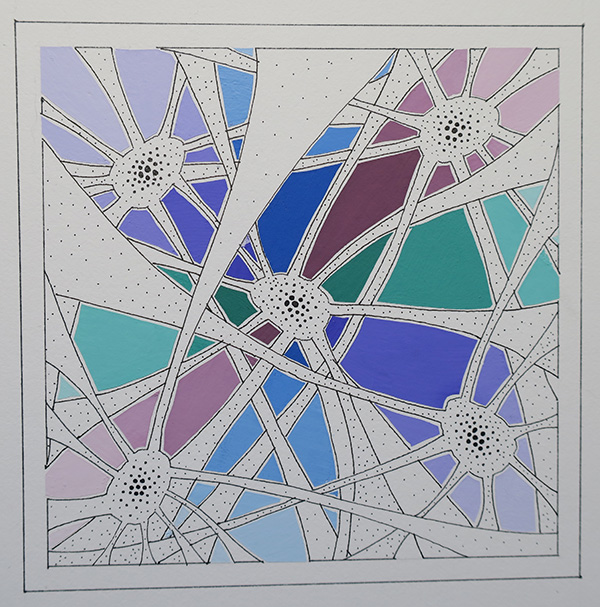 For this particular piece, I will discuss some of what went into the designing itself. This one was unique in that I used some collected sunflower seeds to define 5 areas. These individual areas can easily be seen in the 4.75 inch by 4.75 inch drawing. The images below show the designing sequence with some respective explanations. There is a summary paragraph at the end of this pictorial which discusses the respective seeds AND what I have in mind for them (in about April of 2020)! 
We begin with a blank illustration board! Always an interesting proposition! 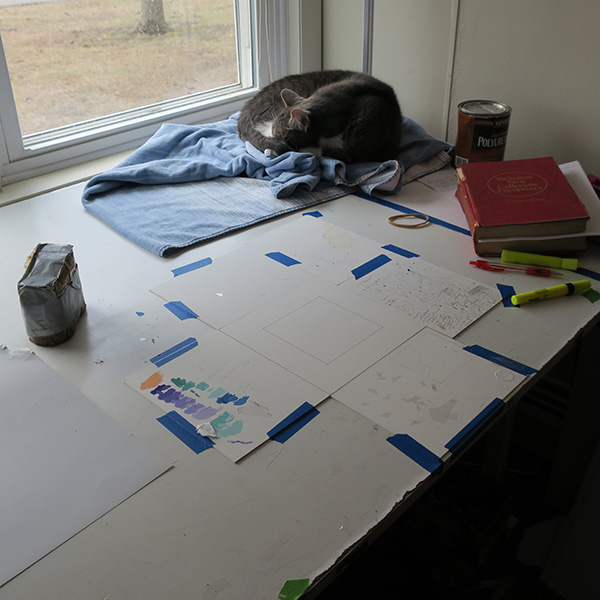
"Sunny" seems uninterested ... 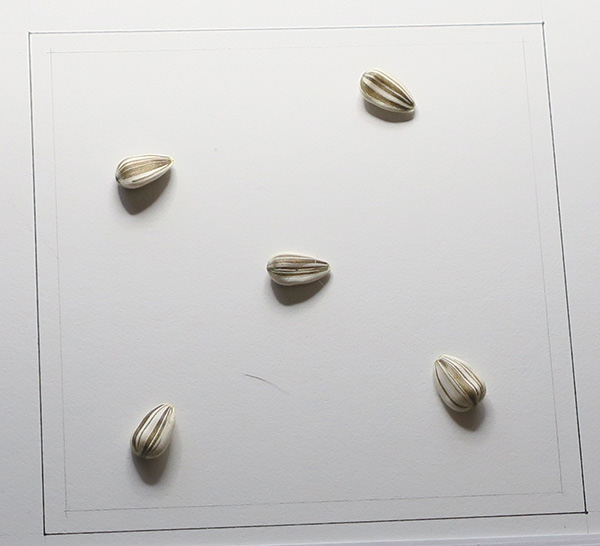
A selection of sunflower seeds (from over 1,000) were collected from the head of a sunflower seed planted on May 27, 2019. (See end of this pictorial for images of that seed and the sunflower and seeds it produced) 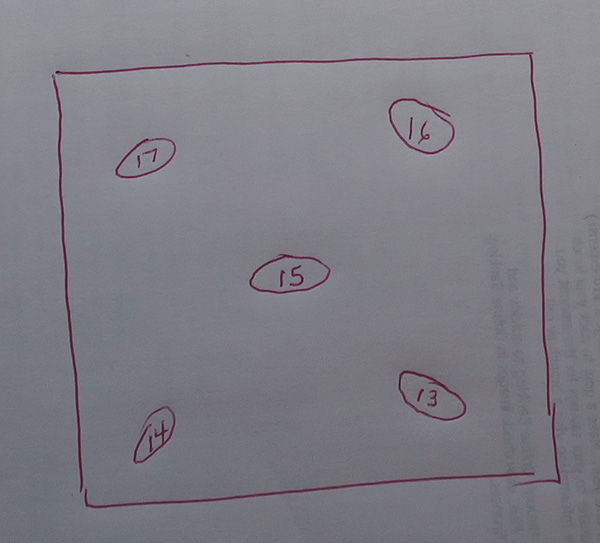
The numbers refer to the specific seed and its placement on the drawing. 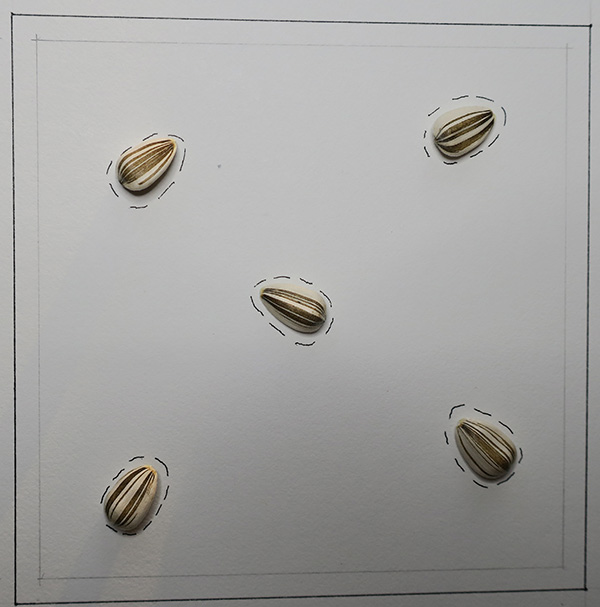
I selected 17 good looking seeds, five of which are shown above. The #13 seed in the lower-right was the best looking of this group by the way. I used the seeds to begin the initial design, drawing dashed lines around each with the technical pen in india ink. 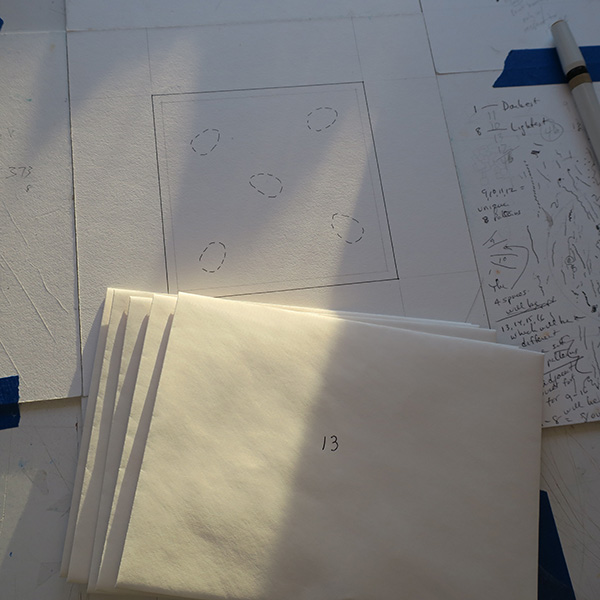
I then removed the seeds and put them back in their envelopes. 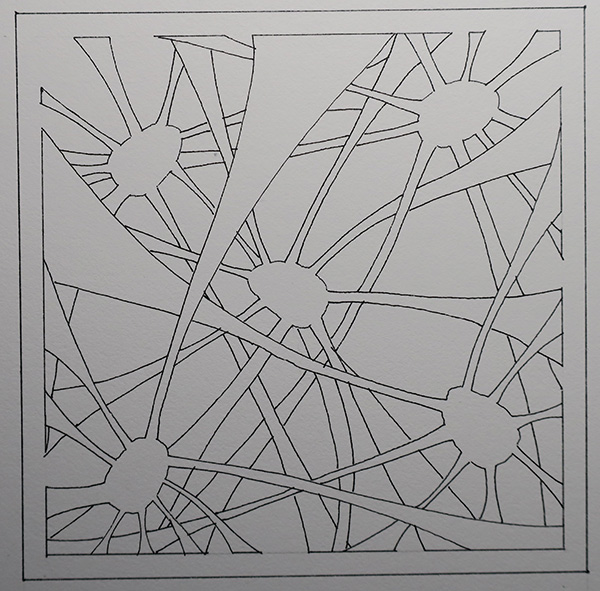
Above, we see the finished design before a color-coding number system was added. 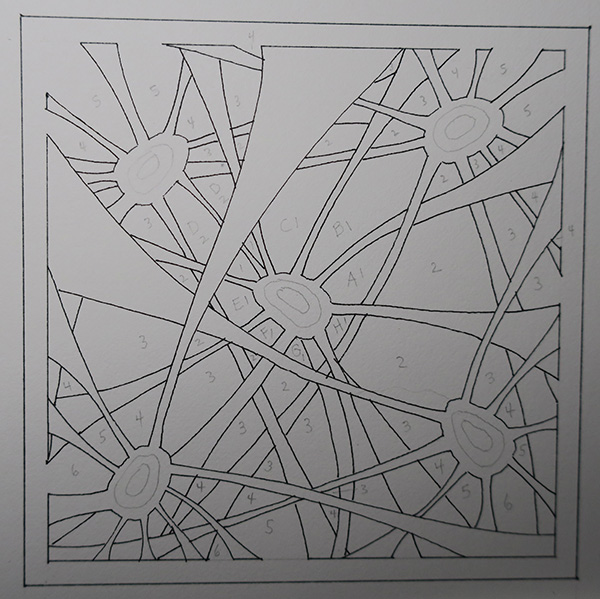
Looking at the centrally located seed above, you can see (in counter-clockwise sequence) the letters A thru H. The "D" is hard to see, and is located a bit farther away from center. There are also ascending numbers in each "hue-letter-area-to-be." A "1" refers to a darkest hue and higher numbers (4, 5 and 6 for example) refer to lighter and lighter tints of that hue. 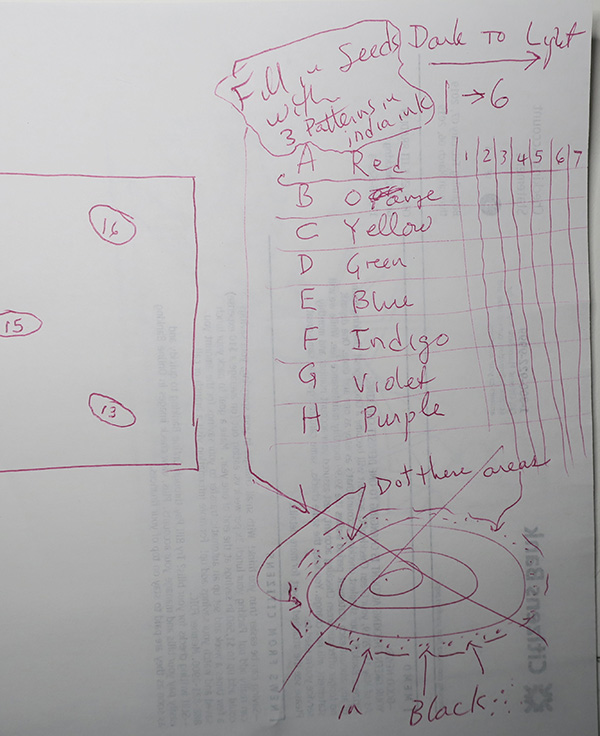
These are notes for an initial color scheme -- much of which I abandoned because I felt it would be way too "loud." Instead, I eliminated red, yellow and indigo altogether. Radially, I repeated my favorite colors one more time at roughly the 180º position. Those colors (hues) beginning with "A" were as follows: "A" - Windsor Green "B" - Purple (a mix of spectrum red and blue) "C" - Windsor Blue "D" - Spectrum Violet "E" - Windsor Green (again at 180º) "F" - Purple (again at 180º) "G" - Windsor Blue (again at 180º) "H" - Spectrum Violet (again at 180º) There is a note about "filling in the seeds with patterns" using india ink. I debated NOT doing this and having 3 yellow-green to yellow hues. This, I felt would draw too much attention to the seeds themselves and so I debated having NO COLOR (or designs) withing each of the seeds. A day passed and, this morning I decided to add a cluster of various-sized dots with the seeds. I like to think of these dots as "messengers of information." The dot system also was able to be extended into the individual radiating patterns of "highways" leading away from each seed. 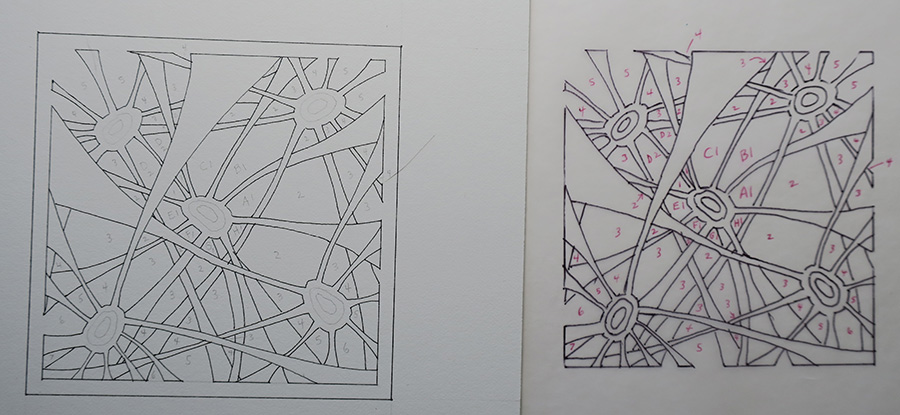
In order to paint the individual "pieces" on the illustration board, I needed to trace the original drawing on tracing paper (shown at right) and re-number it. I used THIS guide (much more visible in thin, black Sharpee marker) to cut individually LARGER stencils much as an airbrush artist would do but, in this case, without the airbrush. All work was done manually with a small brush. 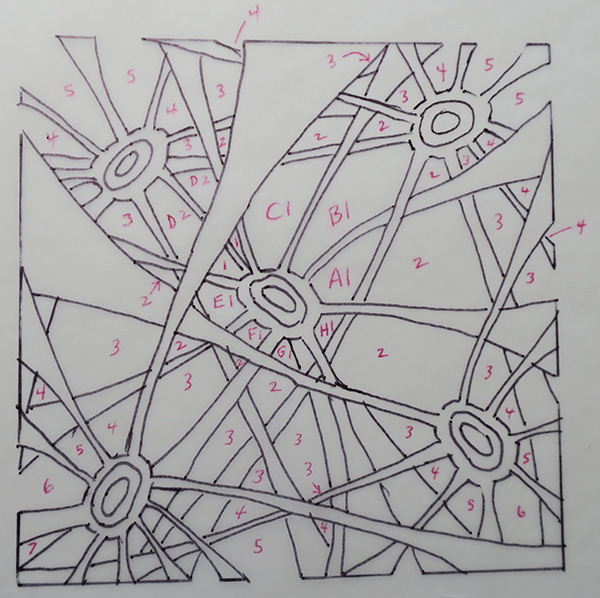
Above, we see a closeup of the stencil cutting guide. 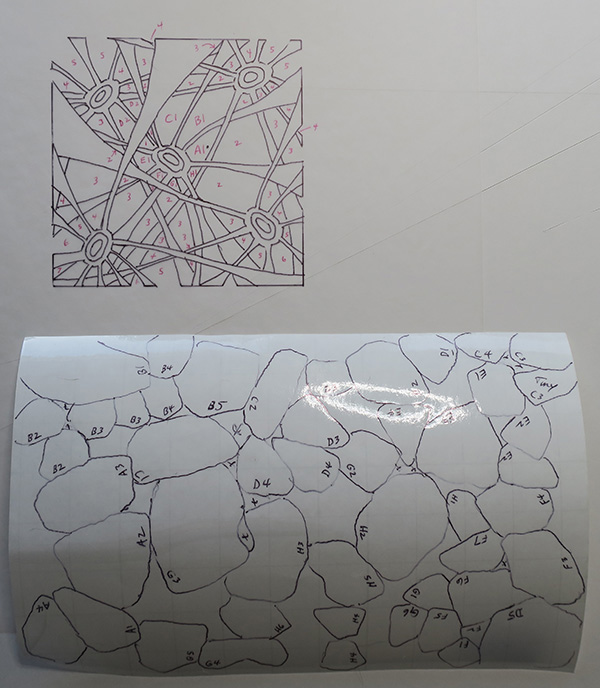
The completed uncut film (below the guide) is shown with its respective numbers for proper individual placement location. The next step will be to cut all these "pieces" out of the film with an Exacto knife. The very thin clear film is then REMOVED from its paper backing (for piece A1 for example) and is placed over the A1 on the original drawing. It will intentionally be slightly larger than the A1 so that a respectively smaller area can be carefully and lightly cut into the film itself [and removed to expose the illustration board] for the desired color application. The whole process for each tint takes about 10 minutes since it takes a bit of time for the gouache to dry. Each stencil is discarded after use. 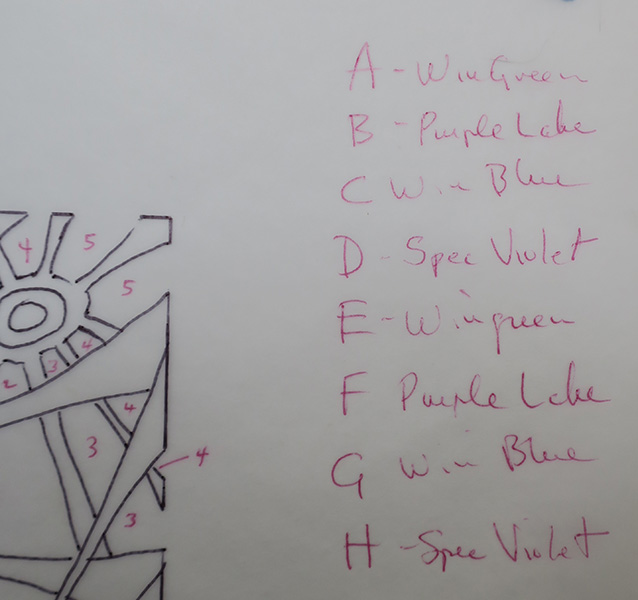
The revised and better color scheme. 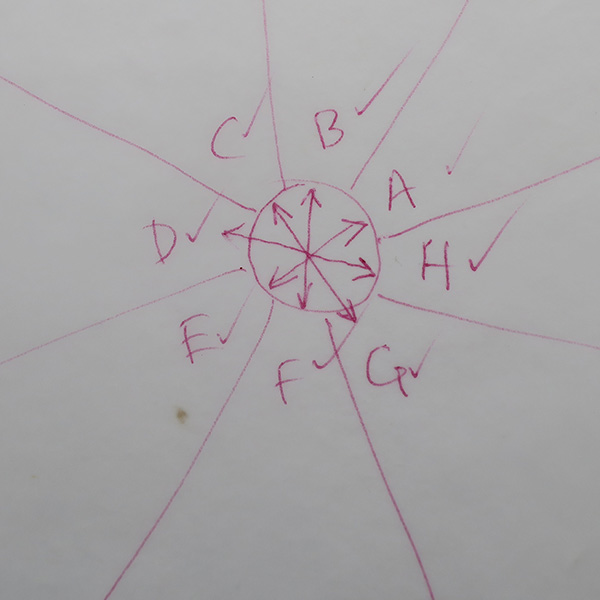
The revised and better "corresponding opposite" color scheme for the central "seed." 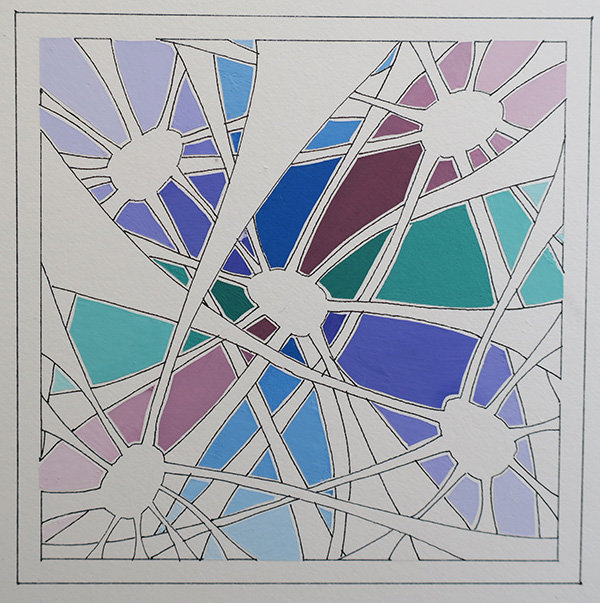
the completed painting prior to adding seed details Author's note: The following images were taken last year. They show some of the evolution for a sunflower seed I planted in May which generated over 1,000 seeds. I randomly selected 17 good looking seeds from this harvest. Of these 17, I again selected 5 to be used in this untitled January 21 2020 abstract. It just so happened that the seeds actually selected were also somewhat randomly chosen from the group of 17. As mentioned earlier in this story, I have my eye on seed #13 since it seems larger and nicer than the other four. For this reason, I will probably keep my eye on it this coming spring when I plant all 5 seeds indoors. I am considering planting a row (of three and possibly four) 12 foot sunflowers next to the apartment again in April, 2020. I include all this in my painting description story mainly because it is all rather fascinating how ONE seed (last year) created all of what is show below. And, who knows *what* some of these painting's seeds will generate in seeds and imagery? 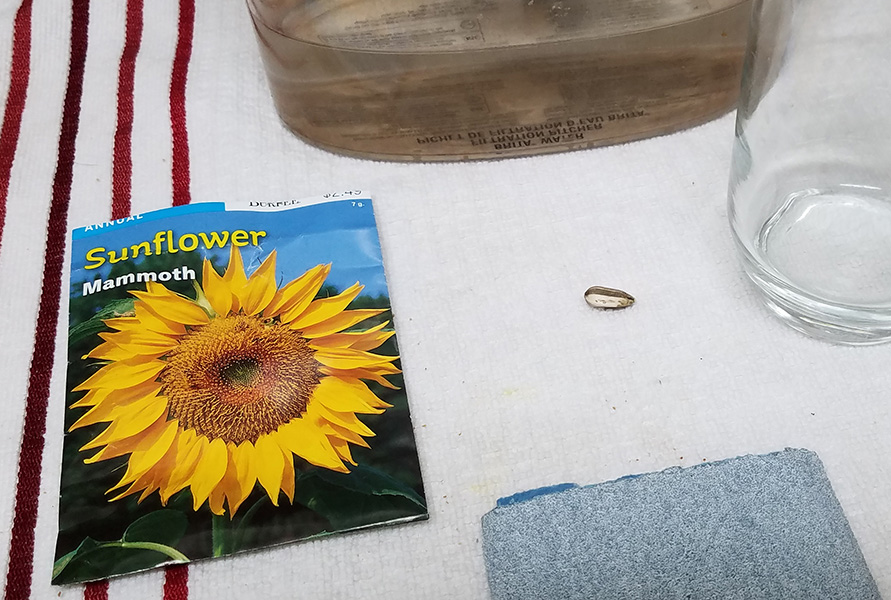
Above, we see the original seed which generated the sunflower harvested in October, 2019. It was "scarified" (scratched) with the sandpaper shown in the photo so that water would penetrate into the seed. 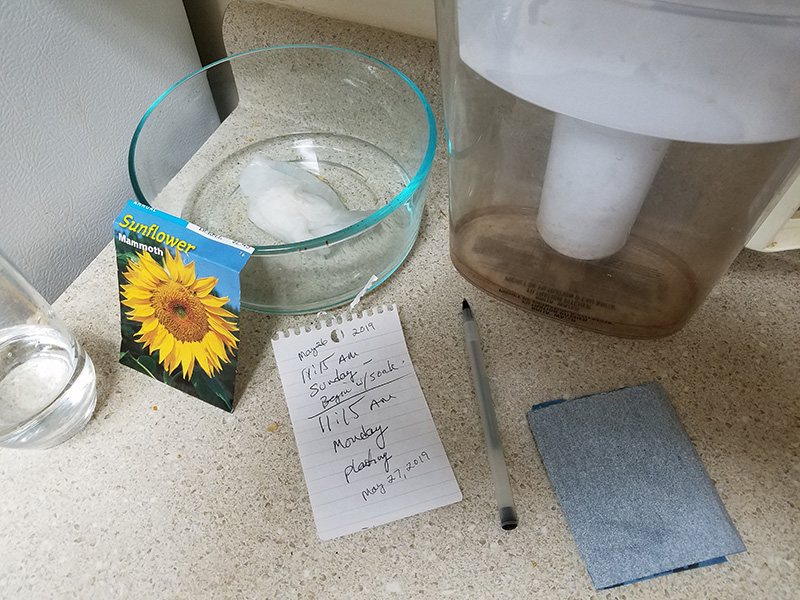
After it was scratched, it was placed underneath the wet paper towel in the clear bowl for 24 hours. A note about its planting day is shown: May 27, 2019 -- a Monday at 11:15 am. 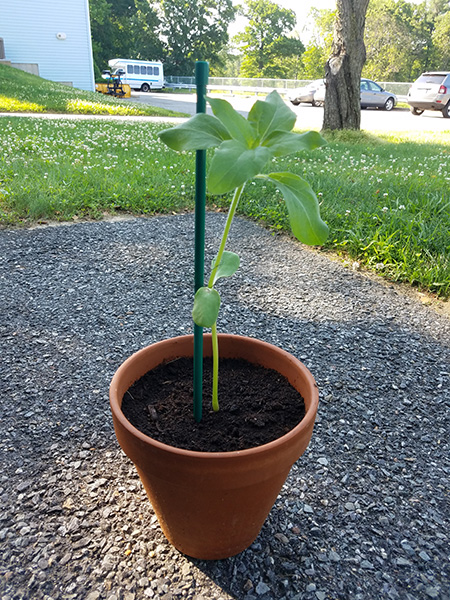
Above, we see the roughly 12 inch seedling shortly before moving to the garden. 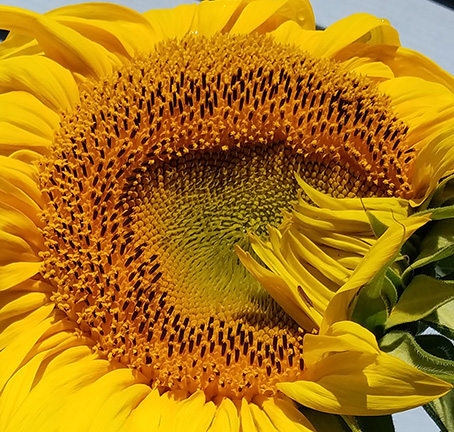
When it was about 12 FEET high, it finally began to open slowly in the cool October air. (in 2020 I must start the seeding earlier as this was getting close to frost time!) 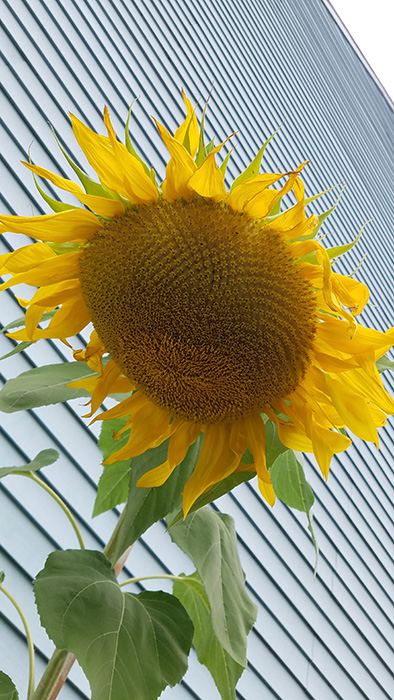
Here we see the more fully matured flower. Lots of little seeds in there! 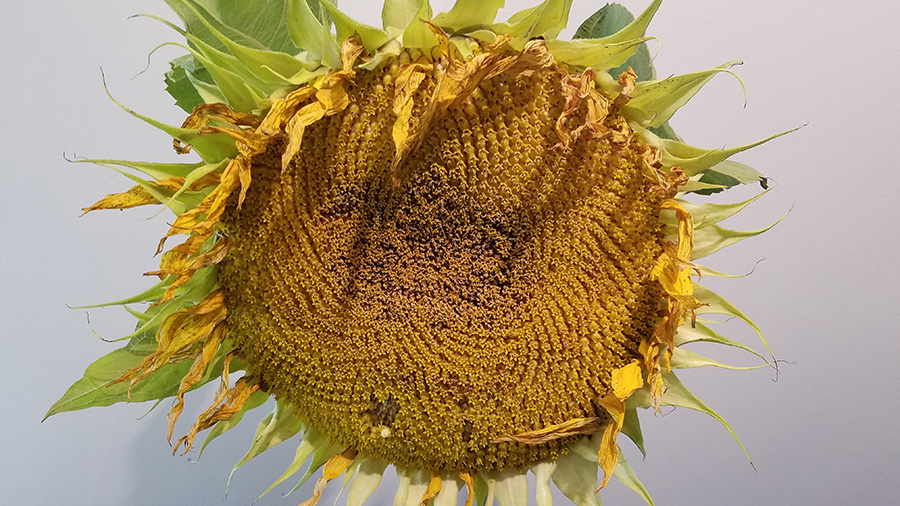
The flower went through its normal aging process. Eventually I cut the 12 foot stalk down and hung the flower upside down inside my apartment to wither, and dry out. This picture was taken indoors. 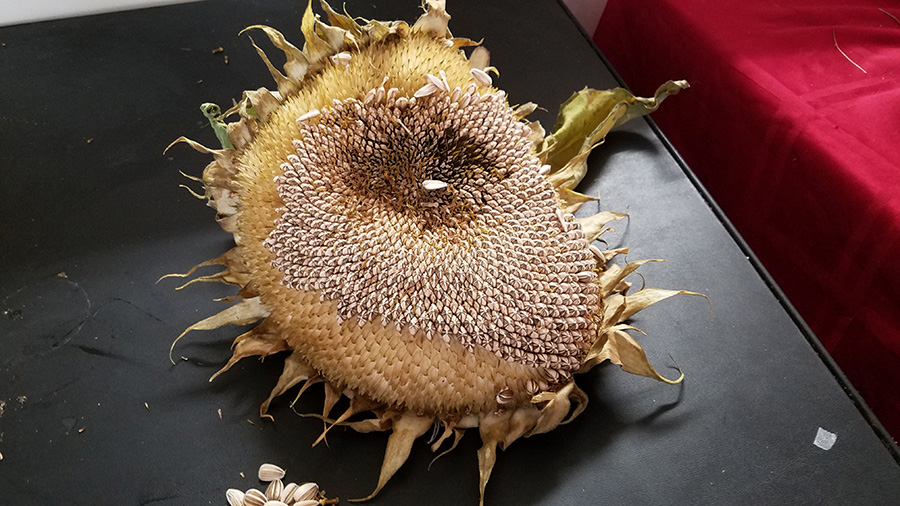
After a week or so, I harvested the seeds. 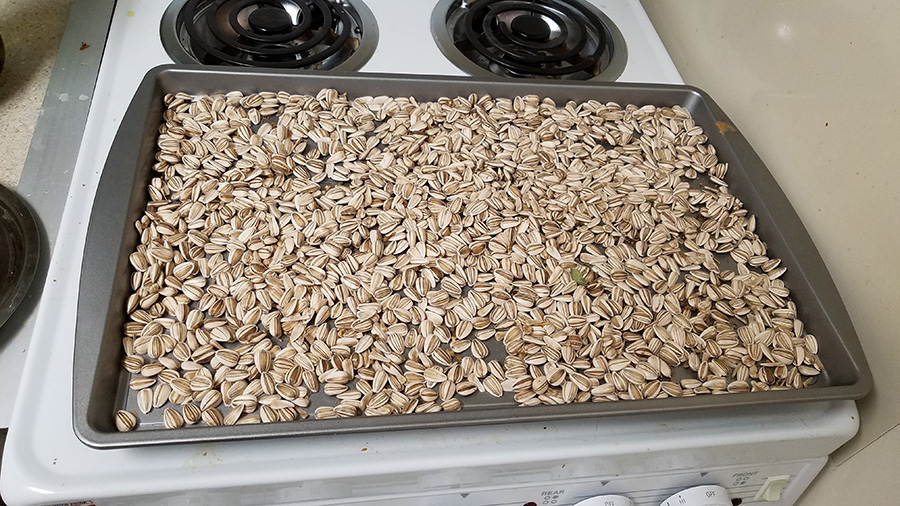
... and laid them out to dry further. I estimated there were about 1,200 seeds from the one seed shown eight images above this one. Here ends (at least for now) the art of my sunflower seed planting! -- January 21, 2020 Return to 'The New Path' details |